Sunday 18 December 2011

Emily's Headband

Emily’s Headband  is a very simple, quick and mindless Tunisian crochet project. 


This pattern is very adaptable and versatile.  Crochet a narrow or a wider band.  For a turban look, crochet a wider headband and then give it a twist or a knot. Wear it too as an ear warmer or maybe pull it down over the head and wear it around the neck as a cowl.   

My pink sample is a very girly version with a crocheted small pink flower.  Its size is 5 cm x 51 cm around (2 in x 20 in). using 22g of DK (8 ply) yarn, 2 strands held together.


Size : Customizable. 

Yarn : Worsted/Aran (10 ply) to Bulky (12 ply) or 2 strands of DK (8 ply) held together
approximately 53 m (58 yards) or more.

Hook : 5 mm hook crochet hook for a narrow headband. If you want to crochet a wider version, you need to have a Tunisian crochet hook to accommodate the extra chains. 

Make a little swatch and adjust crochet hook size accordingly.

Others : Tapestry needle to sew the ends together.

Abbreviation : YO - yarn over, ch - chain.

Skill Level :  Easy - Tunisian Crochet

Customize and chain any number of stitches for the required width.

Example – my sample was ch 9 (approx 5 cm / 2 “ wide).  The instructions given below are for a ch 9 sample.

Foundation Row (forward half) - skip first ch from hook, (draw up a loop in each ch) repeat 8 times, do not turn - at the end, you should have 9 loops on the hook.

Foundation Row (return half) - YO, draw through the first loop on hook, (YO, draw through the next 2 loops on hook) repeat 8 times  – until 1 loop left on the hook 

Row 1 (forward half) – ch 2, skip the first vertical bar, (YO, draw up a loop under the next vertical bar, YO, draw through first two loops on hook, leaving 1 loop on hook) – repeat 8 times across till the end - 9 loops on the hook.

Row 1 (return half) - YO, draw through the first loop on hook, (YO, draw through the next 2 loops on hook) repeat 8 times  – until 1 loop left on the hook.

Repeat Row 1 (forward half and return half) until desired length.

Fasten off, leaving a short length of yarn for sewing the edges together.  Weave in ends. 


If you are not familiar with Tunisian stitch, please check out this video on how to do the Foundation Row (forward half and return half) and also see the Row 1 - Vertical bar


Crochet Small Flower (optional)

Make a magic ring.
In the magic ring, (ch 2, 2 dc, ch 2, sl st) repeat 4 times - for a five petals flower.  Fasten off and weave in ends.

Sew the flower on the headband or on a brooch back so that it can be put on and removed.


No blocking is required!


ENJOY !
Erica's Tiara Headband/Necklace


This is a very simple, quick and mindless crochet project. 

Crochet a little girl or yourself a tiara.  Wear it as a headband or maybe pull it down over the head and use it as a necklace.   

My red sample size is 6.5 cm x 52 cm around (2.5 in x 20.5 in), made using 24g of Worsted (10 ply) Lily Sugar’n Cream cotton yarn.

Size : Customizable. 

Yarn : Worsted/Aran (10 ply) to Bulky (12 ply) or 2 strands of DK (8 ply) held together
approximately 37 m (41 yards) or more.

Hook : 5 mm hook crochet hook.
Make a little swatch and adjust crochet hook size accordingly.

Others : Tapestry needle to sew the ends together. 

Gauge is not important.
Abbreviations used (in US Crochet terms)
ch (chain)                                                                   
dc (double crochet)                                                    
tch (turning chain)
BPdc (back-post double crochet)
FPdc (front-post double crochet)


This pattern is worked flat and then the short edges are sewn together into a ring.


Shell Row 1 - (2 dc, ch 1, 2 dc) in the same space

Shell Row 2 - (3 dc, ch 2, 3 dc) in ch 1 of Shell Row 1

Shell Row 3 - (4 dc, ch 3, 4 dc) in ch 1 of Shell Row 2


Chain a multiple of 6 + 3.

(For a 52 cm/20.5” around, I made ch 72 + 3 - total 12 sets of shells)


ROW 1            * Shell Row 1 in the 6 ch from hook, skip 2 ch, dc in next ch *, skip 2 ch, rep from * to * across, turn

ROW 2            ch 3 (counts as dc), * Shell Row 2, FPdc in next dc *, repeat from * to * across, ending with a dc in tch instead of FPdc, turn

ROW 3            ch 3 (counts as dc), * Shell Row 3, BPdc in next dc *, repeat from * to * across, ending with a dc in tch instead of BPdc.


Fasten off, leaving a short length of yarn for sewing the short edges together to form a ring.

Weave in ends. 

No blocking is required!

Please refer to these linked tutorials for How to work Back-Post dc and Front-Post dc stitches


Happy Crocheting !!!

Tuesday 18 October 2011

Making my own Vanilla Extract

Homemade Vanilla Extract


I love to bake.  So I also make my own vanilla extract.  It is really easy.  I bought some vanilla beans from ebay and made these.

Ingredients - a few vanilla beans + vodka/rum

a few vanilla beans + vodka/rum, then cut open the vanilla bean.  I have used
1 1/2 beans for each bottle of liquor.  Scrap the vanilla seeds, then immerse the seeds and
cut vanilla beans into the bottle.   


Give the bottles a good shake every once in a while. Store in a dark and cool place for two months or longer.  Top it up too.


On the right, is the vanilla extract that I have made 2 months ago.


Vanilla Sugar

I also make my own vanilla sugar by putting split vanilla beans and sugar into an airtight container. I use the sugar for baking, sprinkle on cereal and for my special vanilla flavoured coffee or tea.

Ingredients - a few vanilla beans + sugar


Split up Vanilla beans and seeds buried in sugar


Enjoy   ; )

Saturday 1 October 2011

Apple Teacake


My Apple TeaCake

I love apples.  This is a really easy and delicious cake.  It is also not too sweet.  This is the cake that  I will always bring to someone house  ; )


You will need :
3 medium Fuji apples
1 tbsp lemon juice
3 eggs
1 tsp vanilla extract
150g castor sugar
250g plain flour
1 1/2 tsp baking powder
150g butter, melted
125ml milk
2 tbsp castor sugar and 1 tsp cinnamon powder (for the topping)
Methods
Grease a springform pan (24cm) and line base with baking paper.
Preheat oven to 180 degree Celcius.

Peel, core and slice apple thinly. Sprinkle with lemon juice

Combine the eggs, vanilla, castor sugar and sifted flour and baking powder in a large bowl.  Beat with an electric beater until smooth at low speed.  Then fold in melted butter and milk.

Spread cake mixture and then arrange the apple slices in a concentric circles.
Sprinkle the cinnamon sugar on top.

Bake the cake for 55 minutes or until cooked.

Enjoy!

Monday 20 June 2011

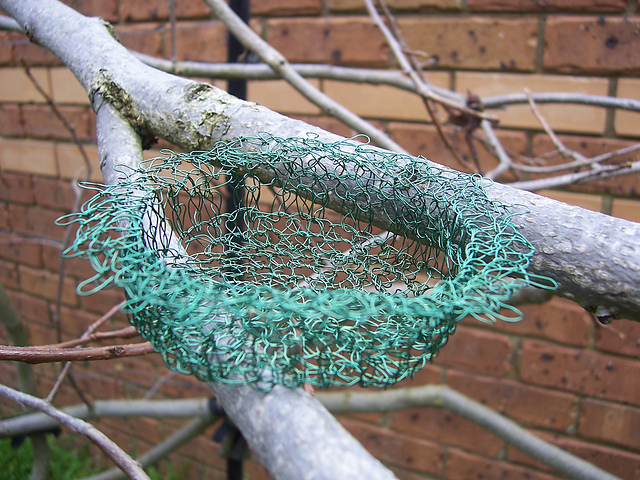
Experimenting with Wire Crochet - Wire Bowl and Empty Nest


These wires bowls were crocheted by me a while ago.

Finished Size

- Approximately 3.5 inches diameter, ½ inch height
- The size of the bowl depends on the size of crochet hook


Materials

To make you will need
1. Colored wire or copper wire (28 gauge)
2. Wire cutter
3. Crochet hook – I used a 2.0mm steel hook. A larger hook may be used if preferred.

Abbreviations

sc - Single Crochet
dc - Double Crochet
ch - chain

Pattern

Make a Magic Ring
Rnd 1 - 7 sc in a ring (7)
Rnd 2 - 2 sc in each st  (14)
Rnd 3 - sc in next st, 2 sc in next st (repeat to end of round) 21 sts
Rnd 4 - sc in next 2 st, 2 sc in next st  (28)
Rnd 5 - sc in next 3 st, 2 sc in next st  (35)
Rnd 6 - sc in next 4 st, 2 sc in next st  (42) slip stitch to form a circle
You have just completed the base of the bowl
Rnd 7 – chain 3, dc in each st (42)
Rnd 8 - sc in each stitch around (42), end with slip stitch and twist the end of the wire.
The height of the bowl can be increased by doing more rounds (42 sc)

 
Freeform wire bowl made using leftover blue wire from Granny square earrings.
Have FUN !!!!
Empty Nest


Granny Square Earrings

Sunday 19 June 2011

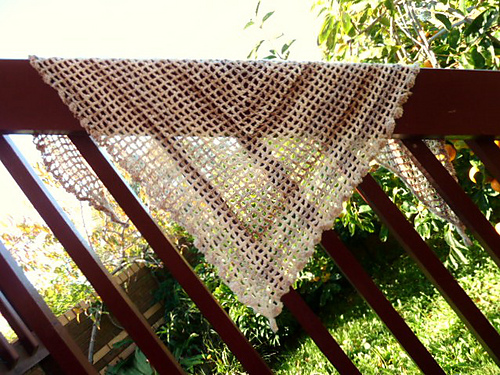
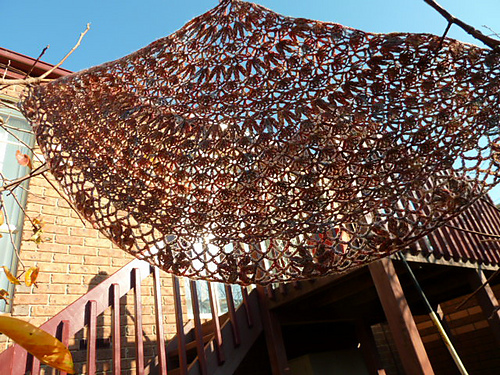
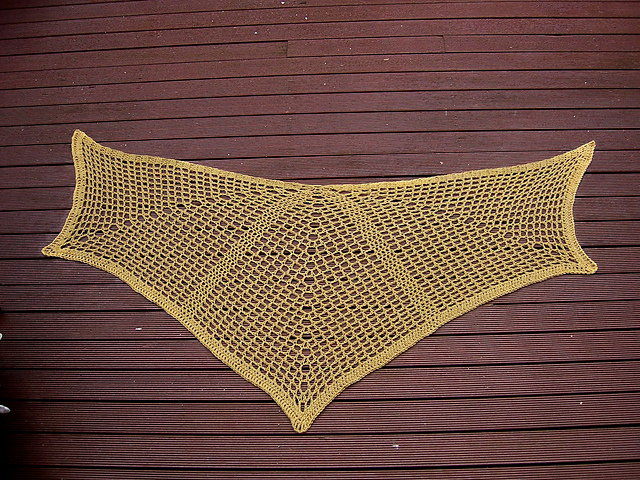
YAY - 11 Shawls in 2011


Tutti Fruitti Scarf

Another version available with my Roda Scarf pattern.

Sharing my Quick and Easy Scarf pattern

RODA SCARF

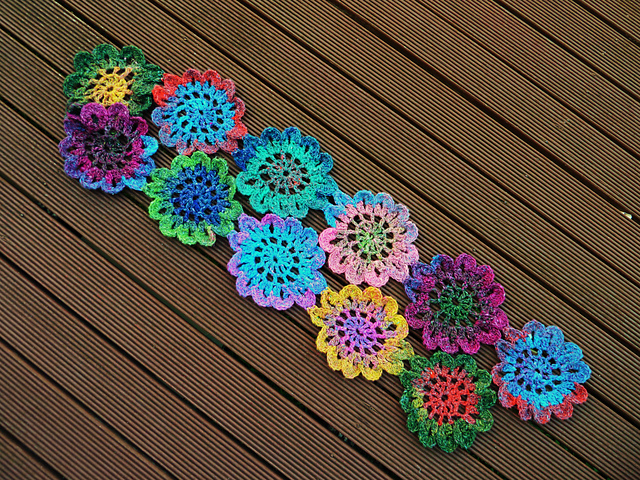
This scarf is Fun, Simple and Quick to make. It can be completed in less than 1 hour. Wheels are not motif but crocheted continuously.

‘Roda’ means wheel in Malay language - Malaysia where I was born and grew up :)


Roda’ means wheels in Malay language - Malaysia where I was born and grew up : )

This scarf is fun, very simple and quick to make.  It can be completed in less than an hour.

Finished Size

The finished scarf measures approximately 140 cm (55 in) long and 7.5 cm (3 in) wide.  Diameter of each wheel is 7.5 cm (3 in). 


Cheers
May  ; )

Look at what we had over the weekend ; )

Our amazing Dong Po Pork ...


Ingredients

1 kg pork belly, cut into square
8 slices of ginger
5 spring onions, cut into 4 cm
3 star anise
1 stick of cinnamon
200g rock sugar
2 cup light soy sauce
3 tbsp dark soy sauce
1/3 bottle of Shaoxing wine (the one without salt)
1 1/2 cup of water

  1. Blanch pork in boiling water for 5 minutes to remove the scum. Remove blanched pork from water.
  2. Put the spring onion and ginger in a pot (I used a Japanese claypot). Put the pork skin side down on the spring onion and ginger. Then add all the rest of the above ingredients.
  3. Bring it to boil, then simmer it slowly for 1 1/2 hours, then turn the pork skin side up and simmer for another 1 1/2 hours or until the pork is soft and caramelized. Remember to taste and adjust the salt and sugar to your preference.
We left the pork in its amazing sauce overnight so that the flavour deepen .....  We had ours with rice and some steamed vegetables.

Enjoy !

Cheers
MMK